


Facials are usually seen as next-level self-care treats because it’s not every day you get to enjoy the decadence of going to a spa — relaxing in a steam room, having a professional esthetician work magic on your skin and even indulging in a (beauty sleep-inducing) full-body massage. It’s that one time where you purposefully block out some time for yourself to relax, unwind and rejuvenate. But why not extend the feeling in between your spa visits with a DIY at-home facial? Here’s our step-by-step guide to DIY at-home facials.
WHAT IS A FACIAL?
A facial is a skin-refining treatment typically given by a skin care specialist. Depending on the skin’s needs, facials often include steaming, cleansing, exfoliating, hydrating, correcting and pampering the skin. Adding a weekly DIY facial to your regular face skincare routine can help supercharge your routine and get you closer to achieving a clarified, glowing complexion.
HOW TO DO A FACIAL AT HOME STEP-BY-STEP
Indulge in the luxury of a spa-like experience from the comfort of your space with our step-by-step home facial for glowing skin. Grab your softest robe and a hair towel (if you have one), sit back and prepare for some pampering bliss.
STEP 1: SET THE MOOD
The vibe matters. How are you going to feel relaxed if your space isn’t making you feel calm? You can replicate those spa components by turning off the lights in your bathroom and lighting a few candles to invite some warm and cosy energy. Turn on some music that makes you feel tranquil, maybe some Sade or Enya? It’s important for your space to have the right scents too. Add a few drops of essential oil into a diffuser or bath — try our Relax Blend Essential Oil with Frankincense, Patchouli and Bergamot to promote a sense of balance. If you’re going to add an essential oil to your bath, be sure to combine it with a carrier oil like jojoba to protect your skin. And there you have it; you’ve created a spa sanctuary, and we haven’t even gotten to the facial step yet.
STEP 2: STEAM YOUR SKIN
Steaming your skin does wonders for softening your pores and loosening all that buildup in your skin. No sauna, no worries — immerse a face cloth into warm water and squeeze out the excess moisture before compressing the warm damp cloth over your face and neck. Add our Soaking Ritual Relaxing to water to help refresh your skin and uplift the senses. As you press the warm cloth to your face, take a mindful moment to relax and enjoy the aroma.
STEP 3: CLEANSE
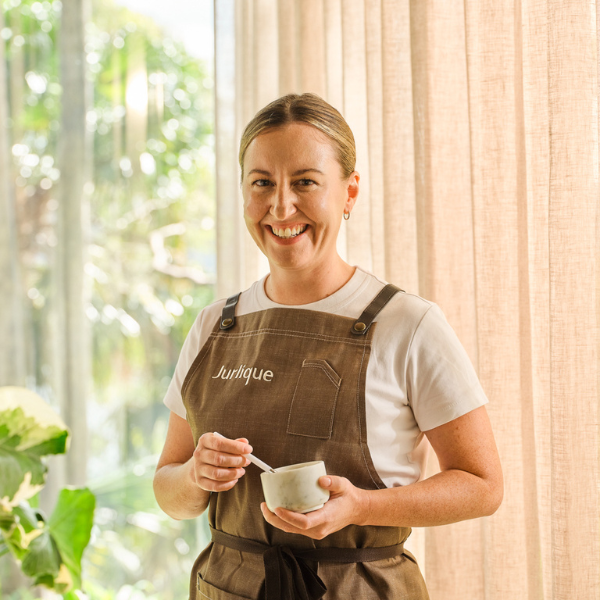
Jurlique USA National Education Manager Paula Provenzano recommends double cleansing. The first cleanse thoroughly dissolves surface impurities such as dirt, oil and makeup, while the second cleanse “makes sure that you get every speck of dirt and makeup that may be on the surface of the skin,” says Paula.
For the first cleanse, you’ll need an oil-based cleanser like our Nourishing Cleansing Oil. Massage the oil into dry skin with a circular motion, then emulsify with water and rinse. For the second cleanse, go in with your favourite cleansing gel, foam or lotion depending on your skin type. While you’re doing a double cleanse, it’s the perfect time to focus on those areas that maybe are a little neglected, Paula says. “The ears, the hairline, the neck (front and back) shoulders and décolleté.”
STEP 4: MIST
Mists are proven hydration boosters that also provide a blissful aromatherapy-like experience. To soothe your senses before and after exfoliation, we recommend our Lavender Hydrating Mist. Not only will it refresh and restore that natural glow to your skin, but it will also calm your skin and soothe your senses.
Hot tip: Store in the refrigerator during warmer months for a refreshing treat.
STEP 5: MASSAGE
Massaging the skin is optional but worth it if you want to get the circulation going in your skin. Massaging the skin relaxes facial muscles, reduces puffiness and helps the products penetrate. Using a jade roller, a gua sha tool or your hands, massage your skin from the centre of your face to the perimeter, around to the hairline and down to the ears and neck.
“By doing that, you’re working with the natural flow of lymph, so if you have a little puffiness around the eye area, it will help to get rid of that,” says Paula.
STEP 6: MASK
Paula says that masking is the centrepiece of facials. It offers intensive treatment for the skin and helps to address any skin problems from dryness, oiliness to irritation. You don’t have to pick only one mask either. You can multi-mask and apply specific masks to the areas that need it. Have sensitive skin on your cheeks? Apply a soothing mask to that area that’ll nurture and protect the skin. Is your skin looking dull and tired?
STEP 7: MOISTURISE
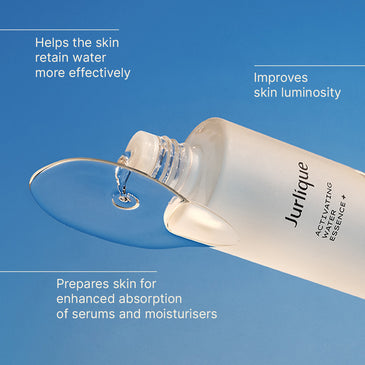
To kick off the moisturising step, prime and condition your skin with our Activating Water Essence+. It sets the stage for perfect penetration for all of your final treatment products, says Paula. Apply with a pressing and smoothing motion to prep the skin for serum. Your serum step always comes before eye cream and moisturiser and is a step you’d find during a professional facial. “It’s the real skin-correcting step that’s going to get in there and change and improve your skin,” says Paula. Finally, lock it all in with a moisturiser that works best for your skin type. Warm up the product in your hands to allow for smoother spreading, and remember to press in the moisturiser instead of rubbing it in.
TRANSFORM HOMEMADE FACIALS INTO A FULL SPA EXPERIENCE
After treating your skin to a rejuvenating spa facial at home, take a moment to pamper the rest of your body. Massage a nourishing eye care product, like our Herbal Recovery Eye Oil Roll-On, with a cooling ball applicator to awaken and nourish your delicate under-eye area. Your lips also deserve some TLC — apply a nourishing lip care product like our Rose Love Balm for soft, supple lips.
Got time for even more “me time”? Treat yourself to pampering body care (if you didn’t already start with that). Try dry body brushing to exfoliate and stimulate blood flow. Then, follow with a soothing, oil-infused bath to calm your mind and soothe sore muscles. Finish with a rich body lotion or oil for soft, hydrated skin, not forgetting your hands and feet. Light a candle, pour some herbal tea or wine and sip away — you deserve it!
For an extra boost, consider incorporating skin care tools like a jade roller or a gua sha tool in your face treatments at home. These can help relax facial muscles, reduce puffiness and help the products penetrate.